

Farmer's Guide
Step 1: Sign up for a Vendor Account on HempDig
To begin your journey on Hemp Dig, first you must register to become a Vendor. Click here to learn more.
Step 2: Fill Out the Crop Survey
This survey is the next step so that we can establish the value of your crop. Click here to take the survey.
Step 3: List or Edit Your Crop Details
Post the information detailing your crop so that potential buyers know what they're getting. Click here to learn how to add your crop as a product on Hemp Dig.
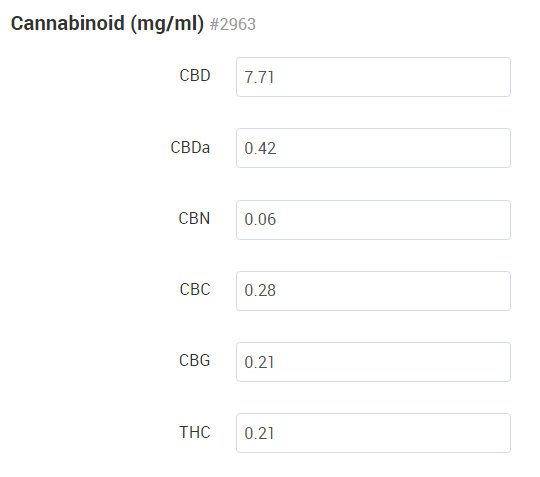
Step 4: Upload Test Results
It is important that you upload test results to verify your crop's health and value to interested parties.
To upload your crop's COA or test results, first click here to login to your Vendor account on Hemp Dig. After logging in, you will see what is shown below in your Vendor dashboard.
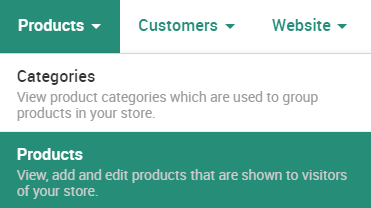
- In the menu bar near the top of the page, hover over Products and click Products from the drop down list.

Alternatively, click here after you have logged in. - Click on the name of the crop whose test results you wish to upload.

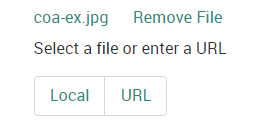
- Under the General section, scroll down until you see Certificate of Analysis. Select Local to upload the COA directly from your computer. Select URL to upload the COA from a link.
- Once again under the General section, find Full Description. You can upload your soil test as a link or image here. See Step 4 below for more information on uploading images.
- Under the Features section, you can add key information to display to potential buyers.

If you would like to request an additional feature to display, please click here to contact us.
Step 5: Add Images and Videos
There are two places you can add images and videos on CannDig: on your crop's product page or your Vendor store page.
Crop
To add images of your crop, make sure you are logged in to your Vendor account. Click here to login.
In the menu bar near the top of the page, hover over Products and click Products from the drop down list.
Alternatively, click here after you have logged in.
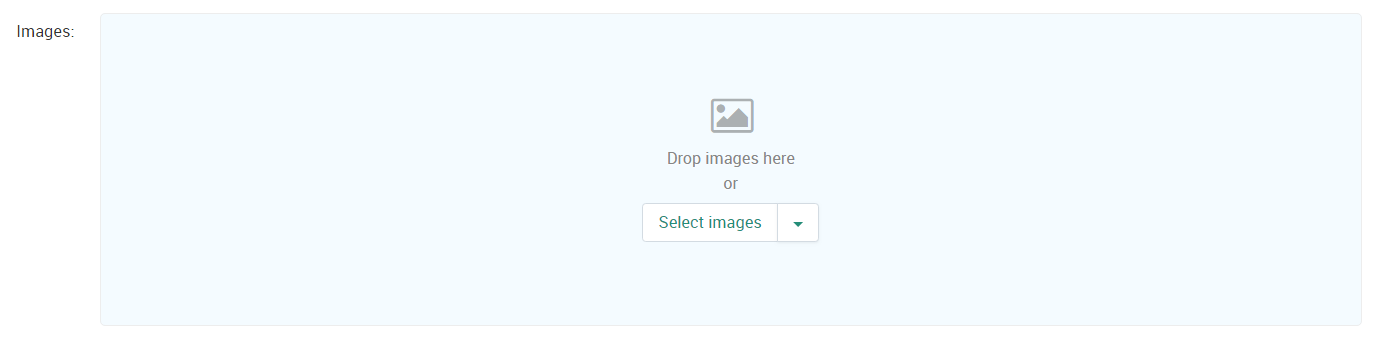
Under the General section, you may add images of your crop. Drag and drop an image into the box next to Images or click the Select images button to upload a photo directly from your computer. Click the little drop down arrow next to Select images to add an image using a link (Add image from URL).
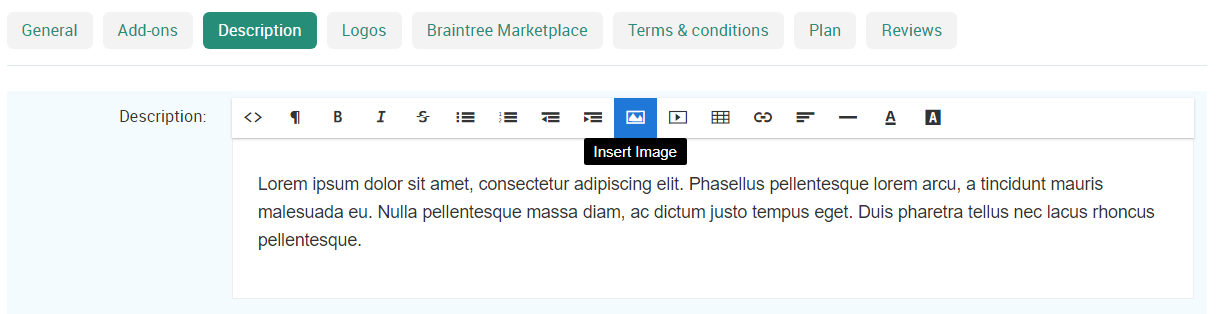
You may also add images and videos under the General section in the Full Description. Click the portrait icon to insert an image.

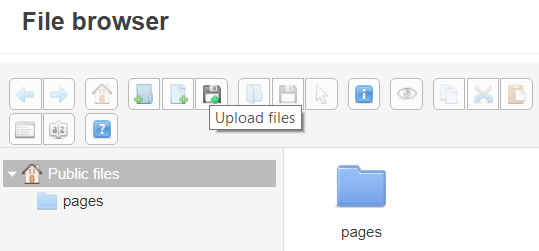
You will be prompted to enter in a link to the image, or click Browse to upload an image from your computer to our server. Drag and drop an image from your computer into the File Browser or click the Upload File icon.
Click the play button surrounded by a rectangle to the right of Insert Image to upload a video. Insert the video embed code or URL to the video on YouTube or Vimeo in the box that pops up.
For information on how to upload videos to YouTube, click here.
Vendor Store
To add images to your Vendor store page, first make sure that you are logged in. Click on your Vendor name in the colored menu bar at the very top of the page next to "Vendor:". Click on Description and click the portrait icon.
To add videos, click the play button surrounded by a rectangle next to the Insert Image button.

Insert the video embed code or URL to the video on YouTube or Vimeo.
For information on how to upload videos to YouTube, click here.